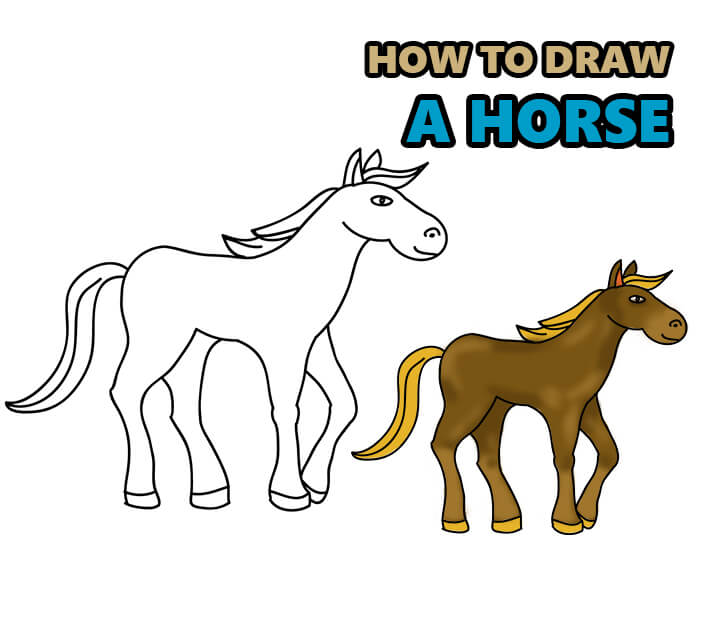
Have you always wanted to learn how to draw a horse, but found it too difficult? This tutorial is so simple that it can be done by preschoolers. Moreover, it is perfect for art classes at school and kindergarten. If you follow it step by step, you will see that it is not as difficult as you think. Thanks to these instructions, you are able to draw any animal – even difficult ones like drawing a horse. I also encourage you to follow my other instructions How to draw a stork and How to draw a unicorn.
Drawing a horse – step by step instruction
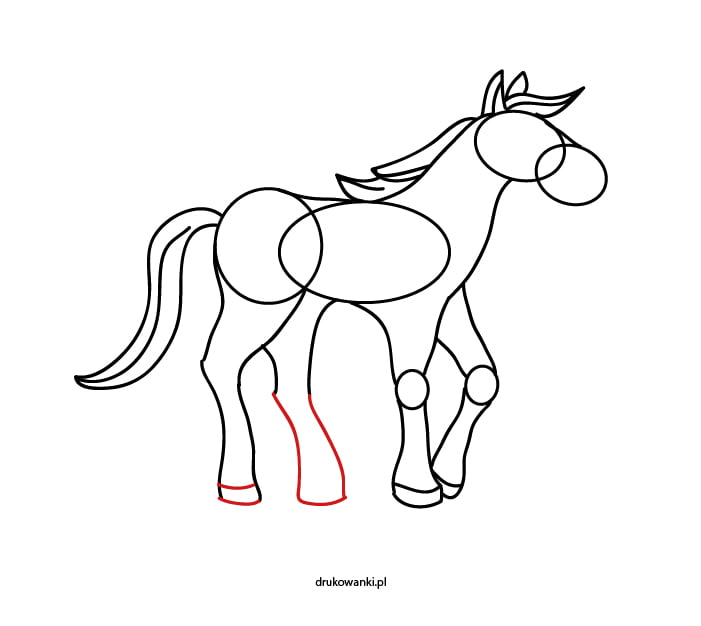
To make it easier for you to follow the steps, I will mark them in red. Thanks to this you will see what and where has been drawn. First, get yourself a blank sheet of paper, a pencil and an eraser. I do not advise you to draw immediately with a felt-tip pen or marker, because they cannot be erased with an eraser. At the end, if you want, you can always correct the finished drawing with a felt-tip pen.
Time needed: 15 minutes
If you have everything ready, we can start our study.
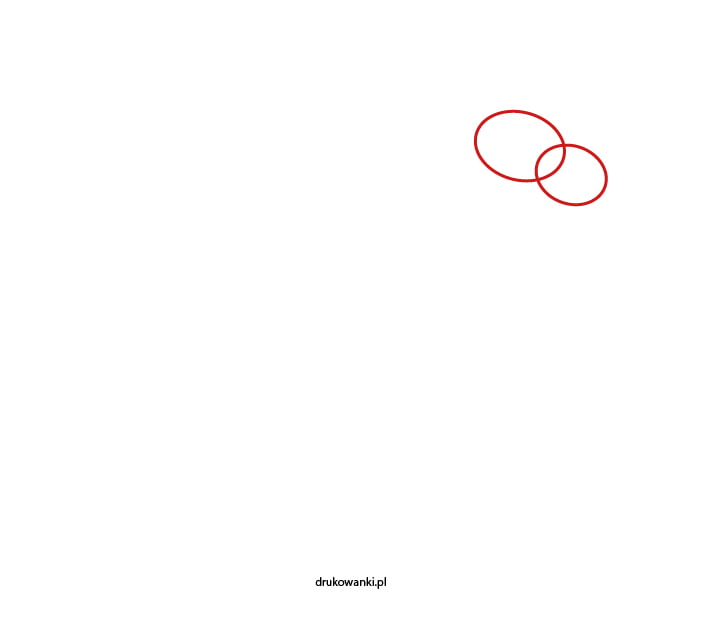
- How to draw a simple horse from circles
In the upper right corner of the sheet, draw two overlapping circles.

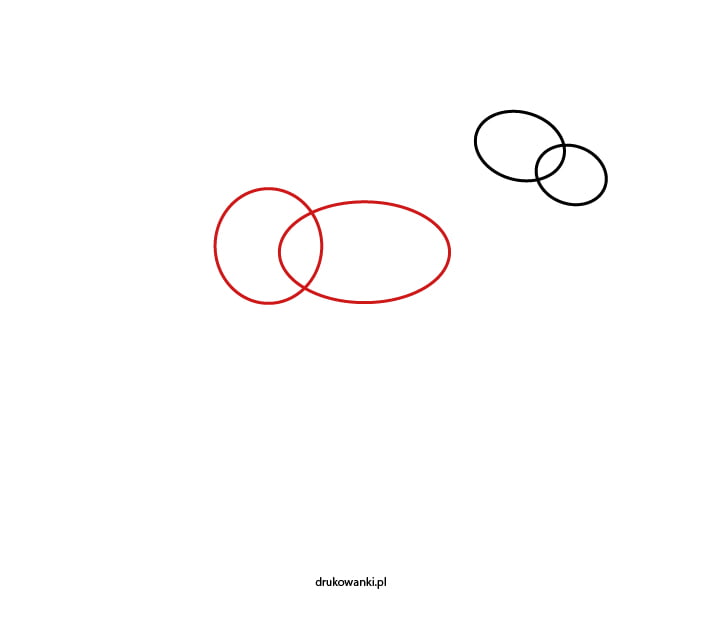
- Another two circles
It’s time for the horse’s body – the next two circles. Draw the larger ones and place them approximately in the center of the page. Make one circle rounder – this will be the rump, and the second circle will be turned into the body later.

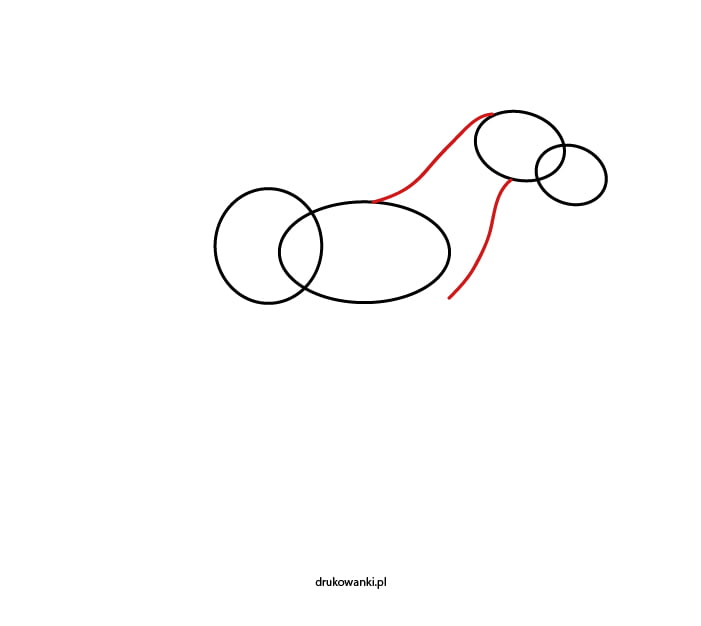
- Two dashes
Now connect the head, that is, the smaller circles, to the body, that is, to the larger circles. This is how a horse’s neck is drawn. Note that the lines bend slightly into a slight S.

- Ear and bangs
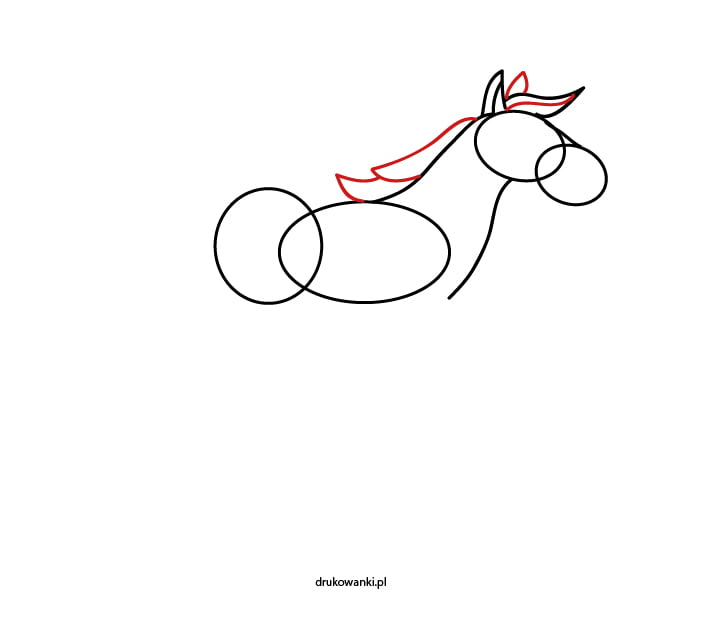
Draw an ear in the shape of a triangle with a dash in the middle. Connect the two circles on the head with a dash. Make a mane between this line and the ear.

- How is a horse’s mane drawn
Draw a small triangle behind the mane and use a line to separate the mane. Then we draw a mane on the horse’s back.

- Draw the horse’s tail
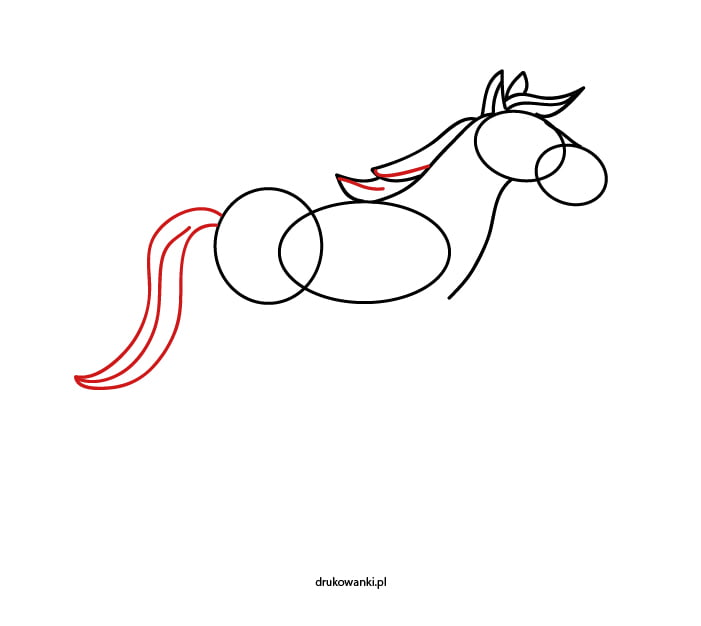
The horse’s tail will be in an S shape. In the center, make a few lines to mark the hair on the tail.

- Two wheels again
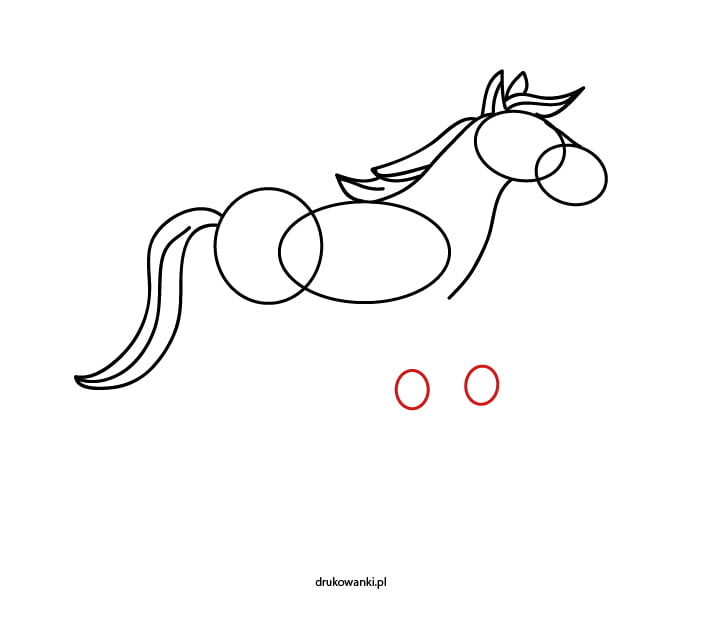
Below on the right, draw two circles.

- Front legs
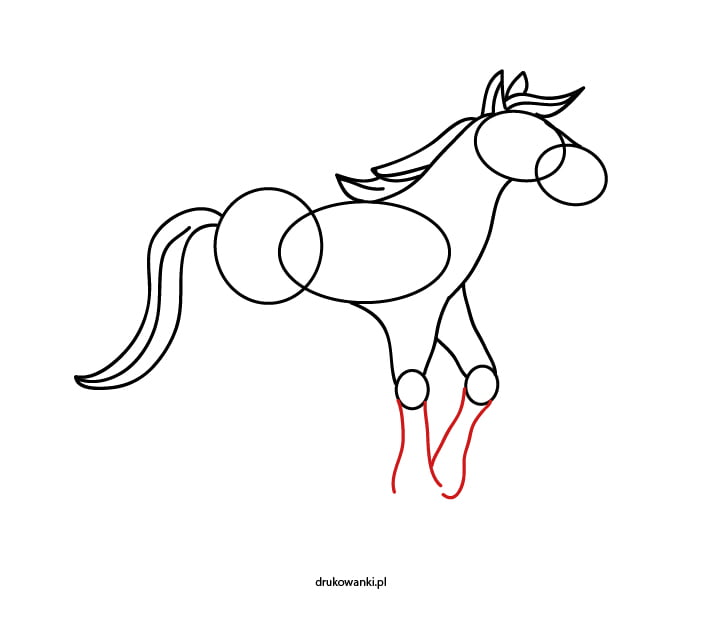
Connect the circles with the rest of the drawing. The second circle will be the leg that is on the back, so the former will cover it a bit. Make the lines that you will draw also in the shape of an arc.

- Step 9 – drawing a horse
Draw two lines that diverge a little. The horse’s other leg will be bent, so make these lines at an angle.

- Horse’s hind legs
Complete the front legs by drawing two horizontal lines.
Then draw two strokes, starting with a circle with a tail. Connect the two circles of the trunk with a horizontal line.
- How to draw a horse’s hind legs?
A horse’s hind legs bend the opposite way as we do. This is very characteristic and if you want to draw a nice horse then you need to pay attention to it. Also start drawing the other hind leg.

- Drawing a horse’s leg
Now you only need to draw the horse’s hoof – that is, two horizontal lines and finish the last leg.

- How to draw a horse – details
Draw the missing last hoof. Then make an eye, nose and face with a smile to make it look nice.

- Horse coloring book
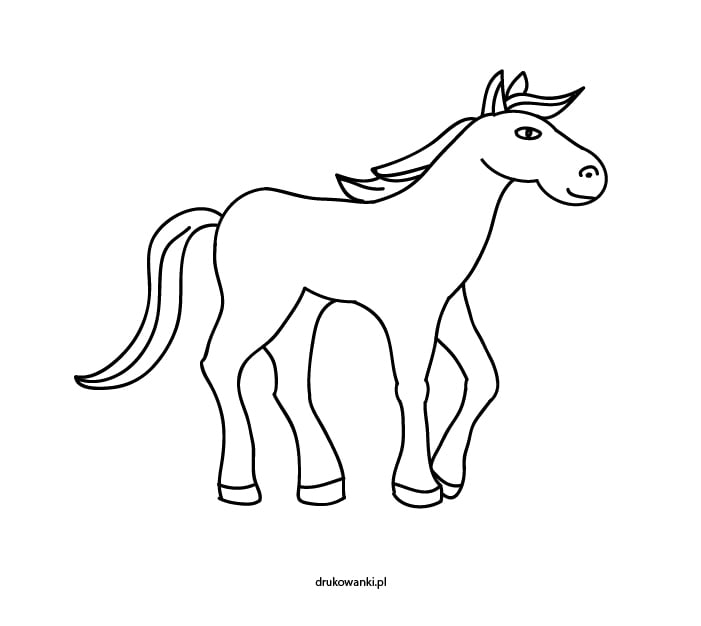
Finally, erase any unnecessary lines. Then you can color the finished drawing.

- Color your drawing
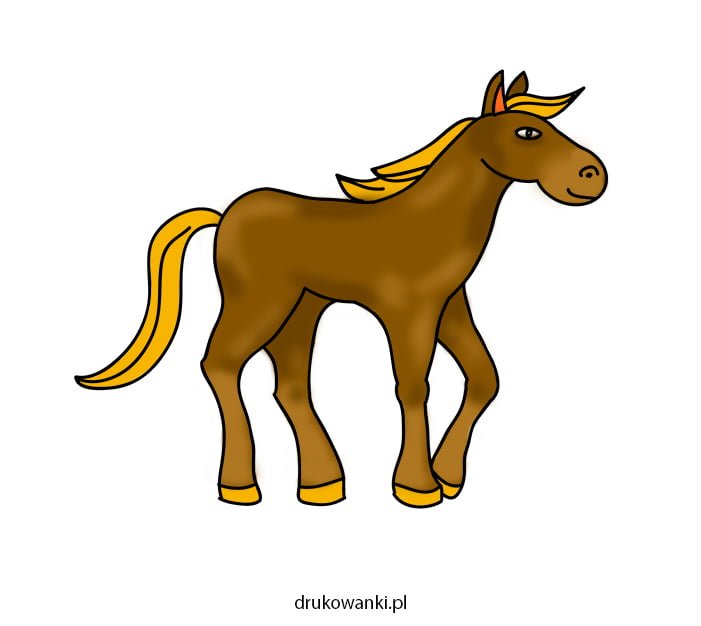
Take crayons, felt-tip pens and color your drawing as desired. If you want, you can follow mine.

