Would you like to know how to draw a ladybug from a fairy tale, pretty, smiling? If so, then you are on the right side. This simple instruction has seven easy-to-follow steps so you’ll be drawing with me at the same time. Drawing a ladybug has never been easier. Prepare a blank sheet of paper and something to draw – crayon, pencil. For this exercise, you’ll also need an eraser, so you’d better draw with something that can be erased. Then you can correct the finished drawing with a felt-tip pen or marker.
How to draw a ladybug? – instruction
For your convenience, the steps are marked in red so that you know what to draw, in what order and exactly what it should look like. If you would like to draw a nice bee in a similar style, I invite you to post How to draw a bee.
Time needed: 10 minutes
In this episode, I’ll show you how to draw a pretty ladybug.
- First step
Draw a fairly large circle in the center of the sheet. This will be the belly of the ladybug. Remember to leave some space on the sides of the page, so that the head, antennae and feet of the ladybug can also fit.

- Drawing a ladybug head
Make the second circle, half the size of the first, overlapping the first. This will be the head of the poor creature. Erase the line in the center with an eraser so that it doesn’t get in the way when you draw the ladybug’s face. Do your little circles look like mine? If so, we move on to the next point.
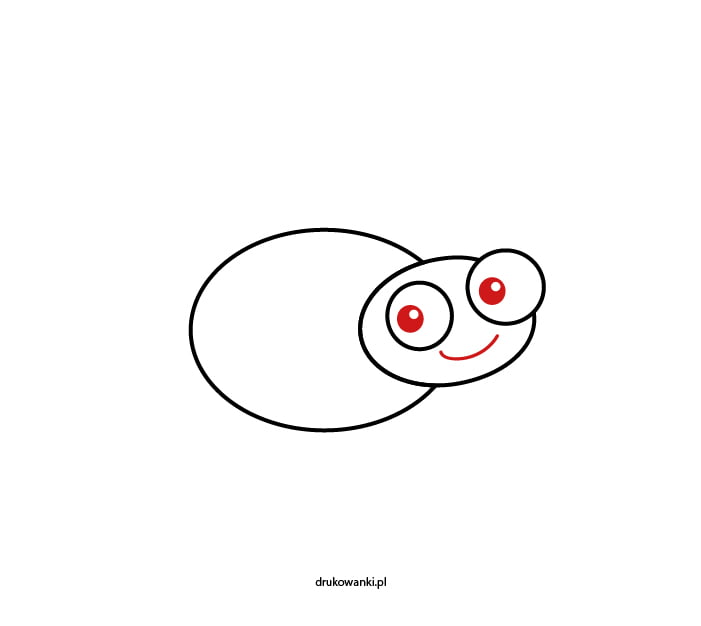
- Draw the eyes of the ladybug
In the smaller circle (head), draw two circles. Don’t worry if they come out uneven. They can protrude slightly beyond the head of the ladybug. Just remember to erase any unnecessary lines. See how I did it.
- Draw a beautiful smile to the ladybug
Now it’s the turn of the middle of the eyes and smile. Color the eye circles black, leaving a small dot uncolored. If you forgot, you can always paint in white dots afterwards. Then give the ladybug a beautiful, wide smile. It looks quite nice now, isn’t it?
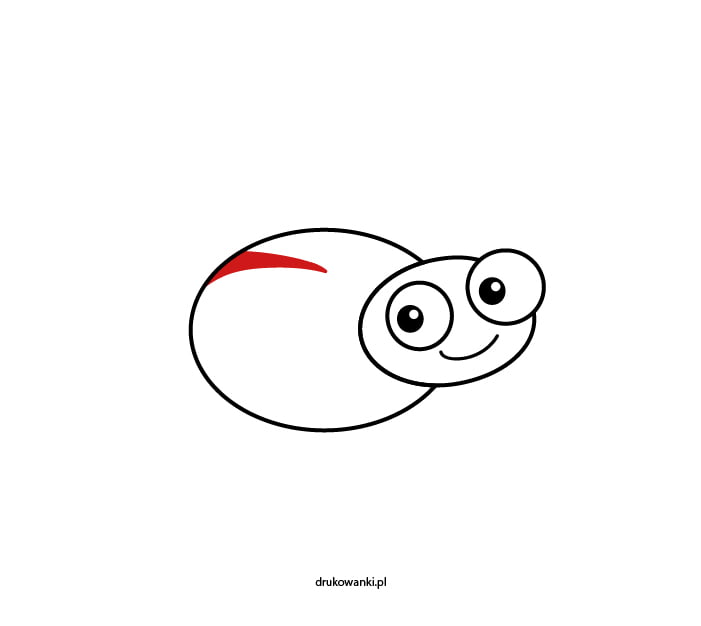
- How to draw a ladybug – step 5
In this step, you will be drawing ladybug wings. We will mark them as a rounded triangular shape on the upper left side of the belly. Look.
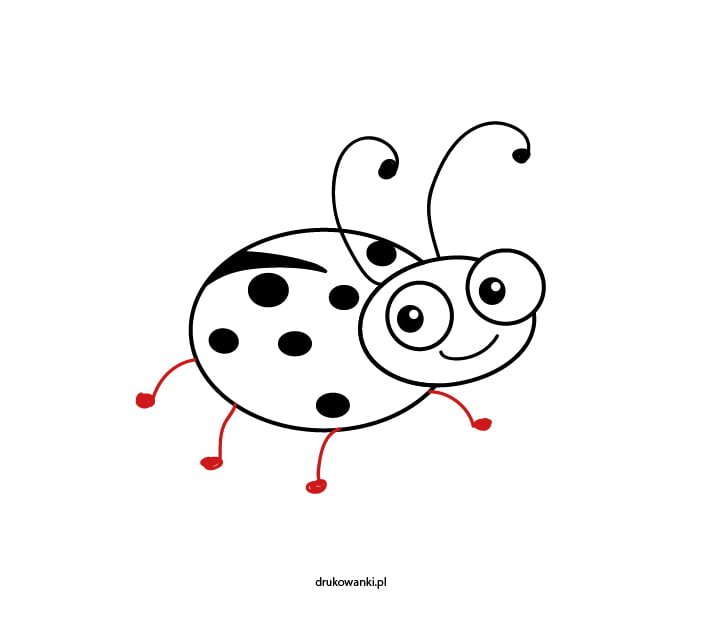
- It’s time for ladybug dots
Draw dots for the ladybug and antennae. The feelers are in the shape of the letter “C” with black circles at the ends, so be sure to draw them. As for the dots, I leave you complete freedom where to put them. Or you can make fewer or more of them than me.
- Ladybug feet
It’s time for ladybug legs, because ladybugs also have legs. Draw four sticks coming out of the belly. At the end of each of them, make a black dot that will act as the foot of the ladybug.
- Ladybug coloring book ready
You just learned how to draw a ladybug. Hope you are proud of your drawing.
- Color the ladybug
The final step will be to color the drawing of the ladybug. Color the belly red, because ladybugs are red. But if you want, your ladybug can also have a completely different color.