When we see storks flying, it is a sign that spring is approaching. If you too long for their return from warm countries, you can draw a picture of a stork. Do you think that drawing a stork is a bit beyond your abilities? If you want, I’ll show you how to easily draw a stork. Please continue reading to see the entire manual. Finally, you will find that it was not that difficult at all. You can just as easily draw an Easter rabbit. So without extension, here we go!
How to draw a stork – instruction
To make it easier, I mark the steps in red so that you know what you need to draw and how it should look exactly. If you’re ready, let’s get started! So get yourself a piece of paper, a pencil, and an eraser. Then the red, black and green crayons will also come in handy.
I recommend sketching with a pencil first, which you can easily erase in case something goes wrong. Then you can correct the finished work with a felt-tip pen or a black crayon.
Time needed: 15 minutes
In this post, we learn together how to draw a stork.
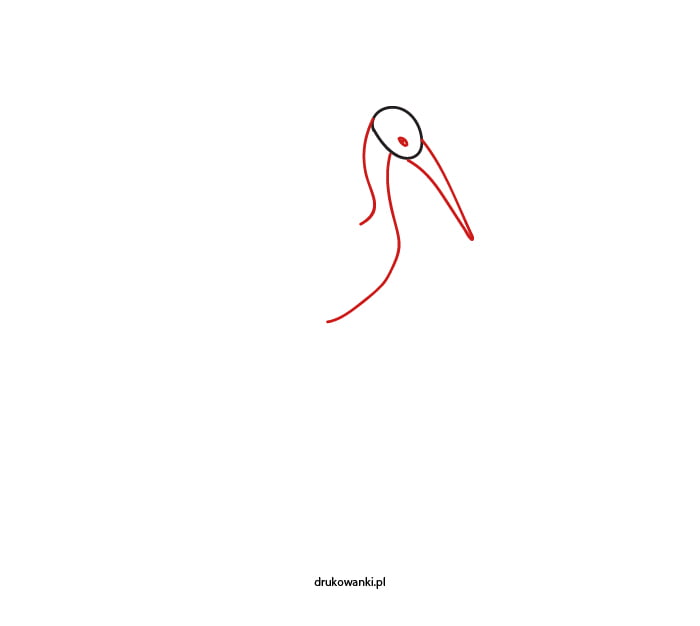
- Drawing a head
We start drawing a stork from its head. Make a small egg-shaped circle at the top of the sheet.

- Step 2 – drawing the beak and neck
In the center of the circle, draw an eye. On the left side of the head, make two hoses – a long stork neck. At the bottom of the circle we draw a long, longitudinal triangle – the stork’s beak.
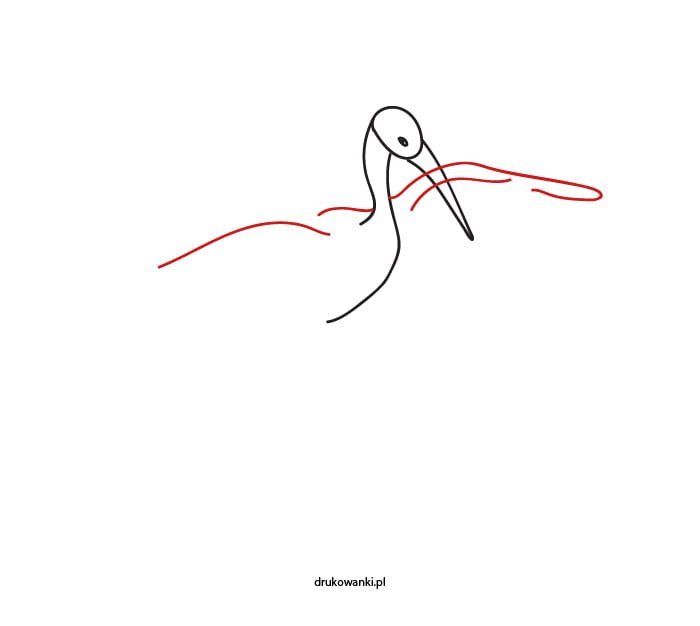
- Stork – we draw wings
These wavy lines that I drew will be the wings of our stork. Try to reproduce them as best you can.
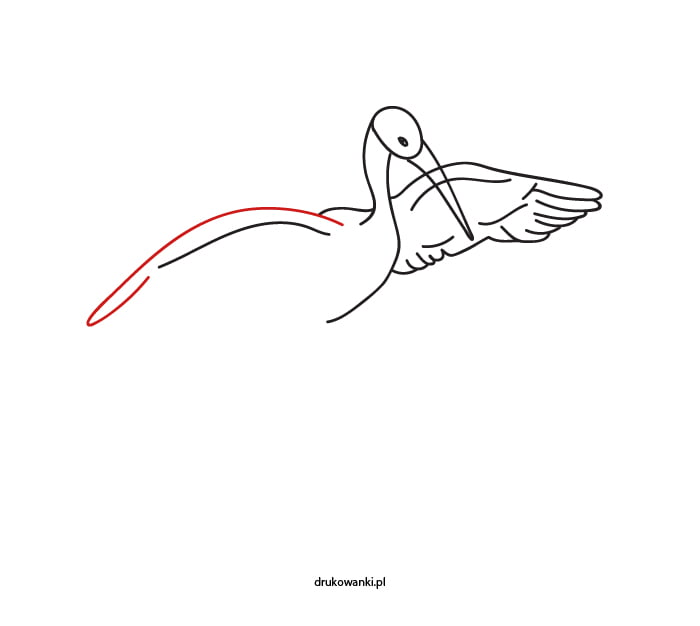
- We draw a stork wing
Now it is time to finish one wing. Mark the contours of the feathers with a wavy line.
- How to draw a stork – step 5
If we already have one wing, it’s time for another one. We mark the size of the wing with an arc. Compare if both wings are roughly the same size. Put a pencil to the drawn wing, mark on the pencil with your finger where it ends. Then pass the pencil to the other wing. If it ends in more or less the same place, it means they are the same size.
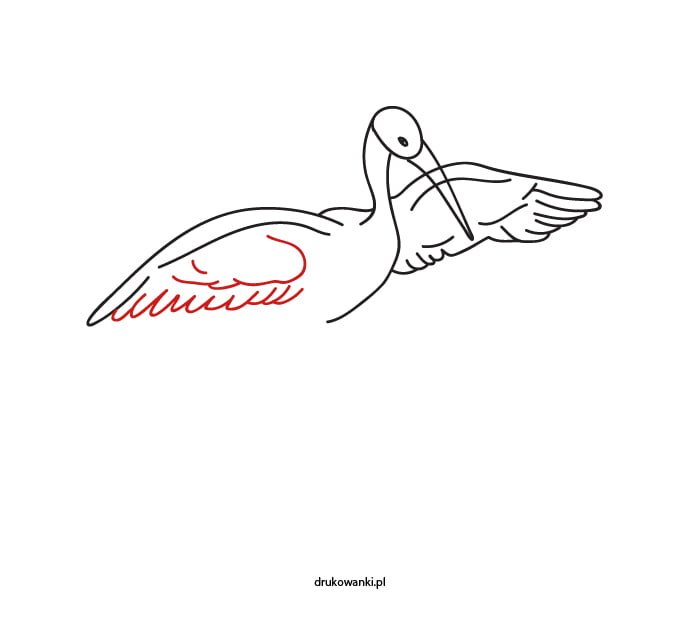
- We draw the second wing of the stork
Similarly, we finish drawing the second stork wing.
- Drawing a stork – step 7
What we are drawing now is the tail and a piece of the bird’s thigh. Try to copy what I have drawn.
- Draw the legs of the stork
The stork has two long legs that bend the other way than humans. Draw one leg slightly raised, because storks are famous for standing on one leg 🙂
- The drawing is almost done
Draw the grass on which the stork is standing. But if you want, you can draw him standing in the water and hunting frogs.
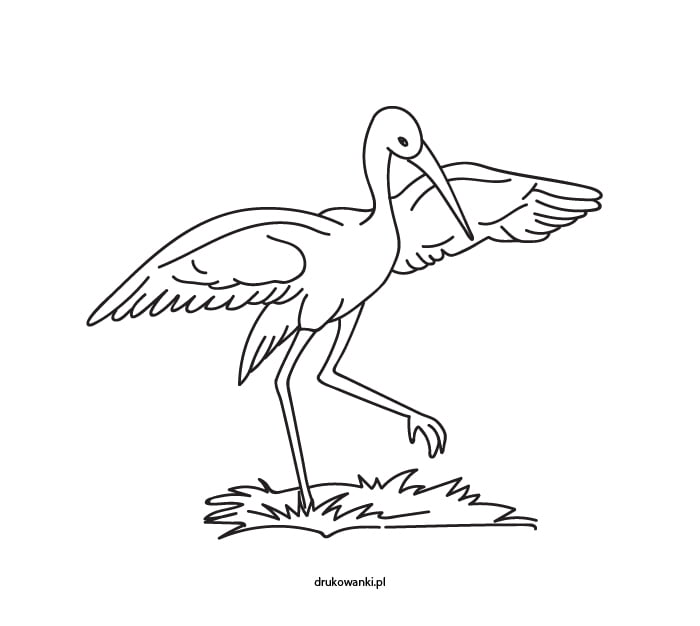
- Stork coloring book
Erase unnecessary lines. Finally, color the drawing.
- Color the picture of the stork
The tips of the wings and tail of a stork are dark, so color them black. Leave the rest white. The beak and long legs are red. It is thanks to these colors that the stork stands out among the birds.